
Indoor Moss Care Explained in Under 3 Minutes (Plus Display Ideas)
, by Brian Tant, 7 min reading time
, by Brian Tant, 7 min reading time
If you're here, you probably already know that moss is having a major moment. And honestly? It's about time. While everyone's obsessing over fiddle leaf figs and monsteras, moss has been quietly being the most low-maintenance, forgiving plant you could ask for. The best part? You can literally keep it thriving indoors with minimal fuss.
Here's everything you need to know to become a moss-whispering legend, plus some seriously cool display ideas that'll make your plant-loving friends jealous.
Let's get one thing straight right off the bat – moss is not a diva. Unlike your high-maintenance houseplants that throw tantrums when you forget to water them for three days, moss is remarkably chill. The key to success is understanding that moss doesn't want to be pampered; it wants consistency.
Think of moss as that friend who's happy with simple pleasures. It doesn't need fancy fertilizers, doesn't demand perfect soil, and won't die on you if you travel for a week. What it does want is a stable environment that mimics its natural forest floor habitat.

This is where most people either nail it or completely mess it up. Moss loves consistent moisture – think of a wrung-out sponge, not a soaking wet towel. The goal is to maintain that perfect balance where your moss feels moist to the touch but isn't sitting in standing water.
Here's your game plan: mist your moss 2-3 times per week using filtered or distilled water. Tap water works in a pinch, but it can leave mineral deposits that create those unsightly white spots nobody wants. When you mist, you're looking for that gentle, even coverage – not a torrential downpour.
Pro tip: If you notice your moss getting a bit too wet and developing any funky smells, back off the watering for a few days. Moss is surprisingly resilient and will bounce back from being slightly dry much better than from being waterlogged.
Moss is basically the opposite of those sun-worshipping succulents. Direct sunlight is actually your moss's enemy – it'll dry it out faster than you can say "photosynthesis." What you want is that sweet spot of bright, indirect light.
A north-facing window is perfect, or anywhere that gets gentle morning light for a couple of hours. If you're working with artificial light, keep it about 12-18 inches away from your moss. The beauty of this low-light preference means you can successfully grow moss in spots where other plants would just give up and die.
Here's where moss shows its easygoing nature again. While other plants demand specific soil mixes and perfect drainage, moss is happy with surprisingly basic setups. It actually prefers nutrient-poor, slightly acidic conditions – the complete opposite of what most houseplants want.
For container setups, layer about an inch of small pebbles or gravel at the bottom for drainage, followed by an inch of activated charcoal (this prevents that swampy smell), then 1-2 inches of regular potting soil. That's it. No special moss soil, no complicated mixtures.
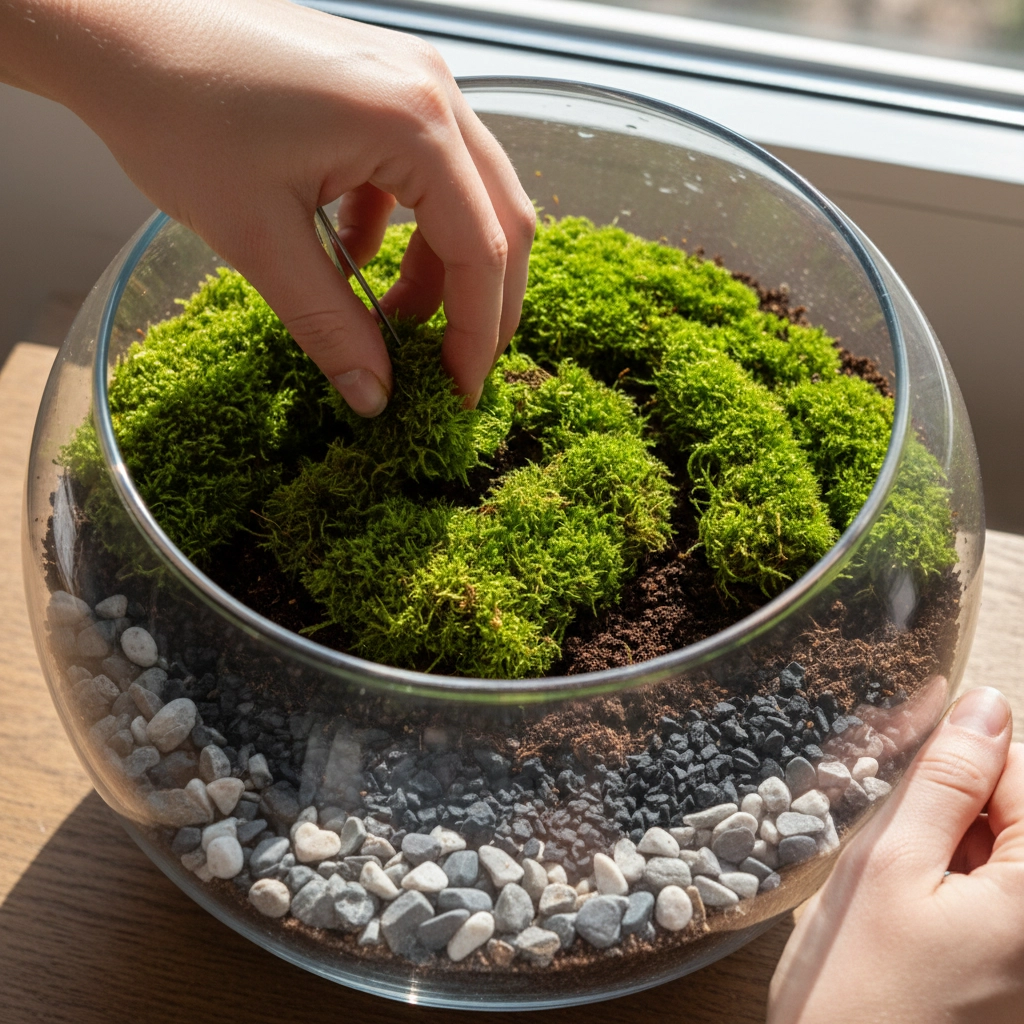
The actual setup process is honestly easier than assembling IKEA furniture. Start with any clear container – glass jars, terrariums, even old fish tanks work perfectly. The transparency lets you monitor moisture levels and creates that greenhouse effect moss loves.
After layering your substrate, mist the soil lightly, then gently press your moss pieces into place. Don't worry about being precious with it – moss is tougher than it looks. Give everything a final mist, and if you're using a container with a lid, cover it up but leave a tiny gap for air circulation.
Within a week or two, you'll start seeing new growth. It's subtle at first – maybe a slight color change or some new tiny shoots – but once it takes off, you'll be amazed at how lush it becomes.
Now for the fun part – turning your moss into actual living art. The display possibilities are honestly endless, and this is where you can get really creative.
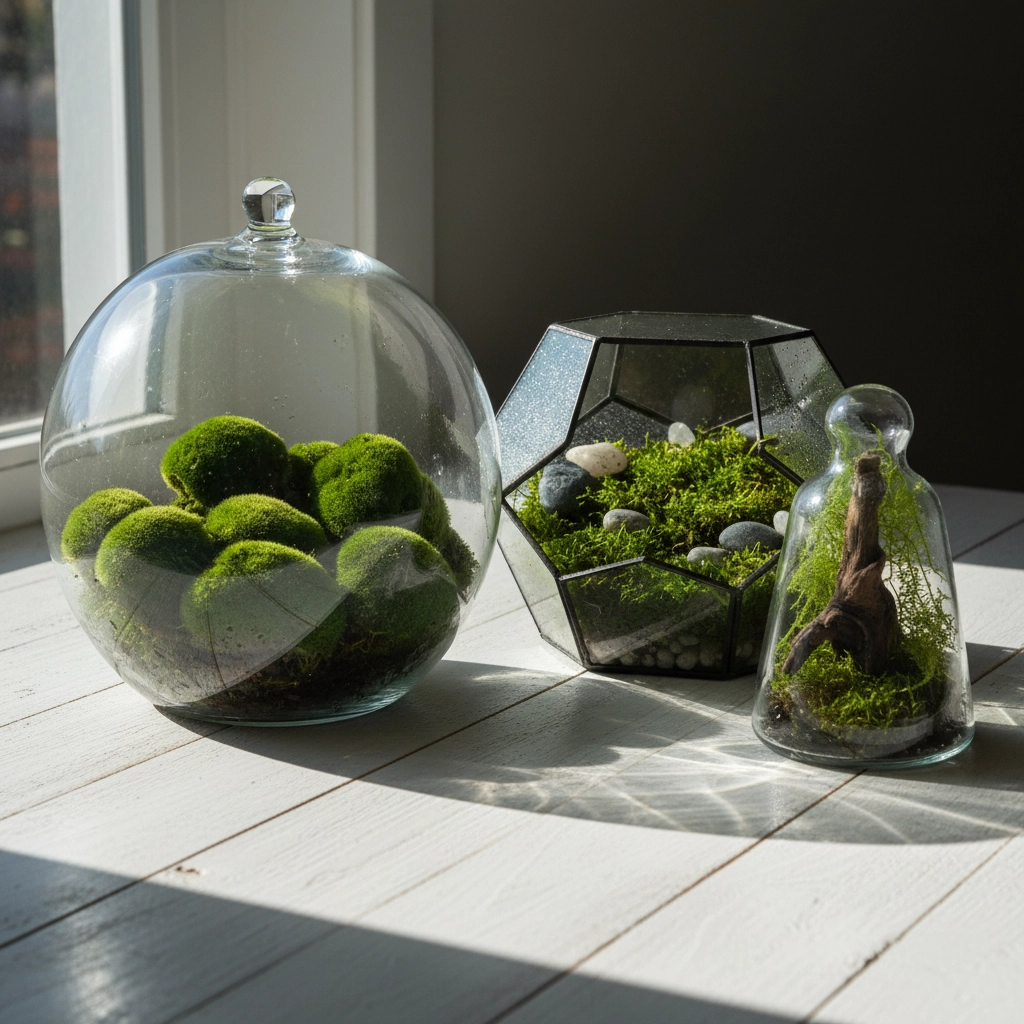
Terrariums are probably the most popular way to display moss, and for good reason. They're basically self-contained ecosystems that require minimal maintenance once established. You can go minimalist with just moss and maybe a small piece of driftwood, or create elaborate landscapes with multiple moss varieties, tiny figurines, and decorative stones.
The key to terrarium success is choosing the right size container. Too small, and you'll struggle with moisture management. Too large, and it can look sparse. A container that's 6-8 inches in diameter is usually the sweet spot for beginners.
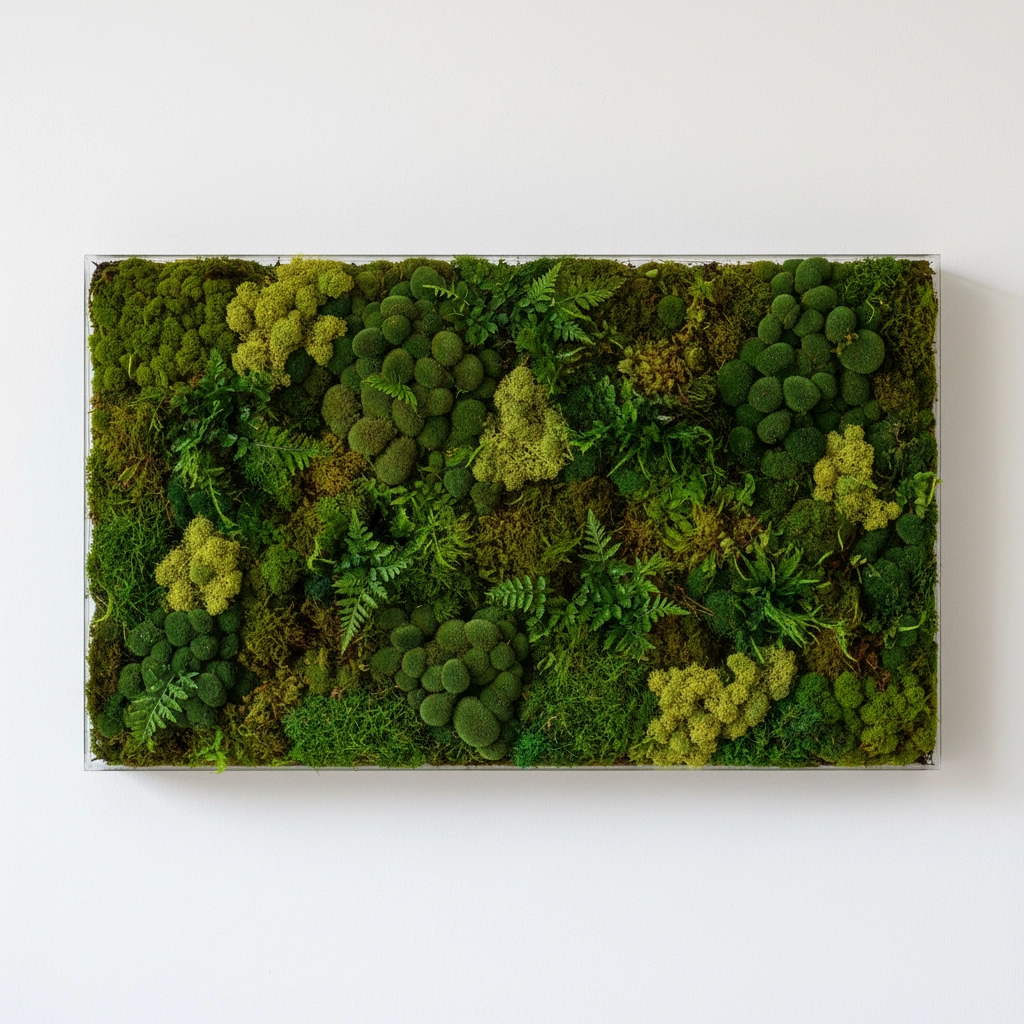
If you want to make a serious statement, moss walls are absolutely stunning. You can create them using picture frames with mesh backing, or purchase specialized moss wall systems. The effect is like having a piece of the forest hanging on your wall – it's incredibly calming and adds this amazing natural texture to any room.
For DIY versions, use chicken wire or hardware cloth as your base, pack it with moss, and mount it in a frame. Mist it regularly, and within a month, you'll have this gorgeous living artwork.
Kokedamas are these beautiful Japanese moss balls that you can hang or display on decorative stands. They're basically plants wrapped in moss and held together with string or wire. While traditionally made with ferns or other plants in the center, you can create stunning versions using just different moss varieties.
The process involves wrapping your moss around a soil ball, securing it with fishing line or natural twine, and then displaying it however you like. They look incredible in groups of three or five, hanging at different heights.
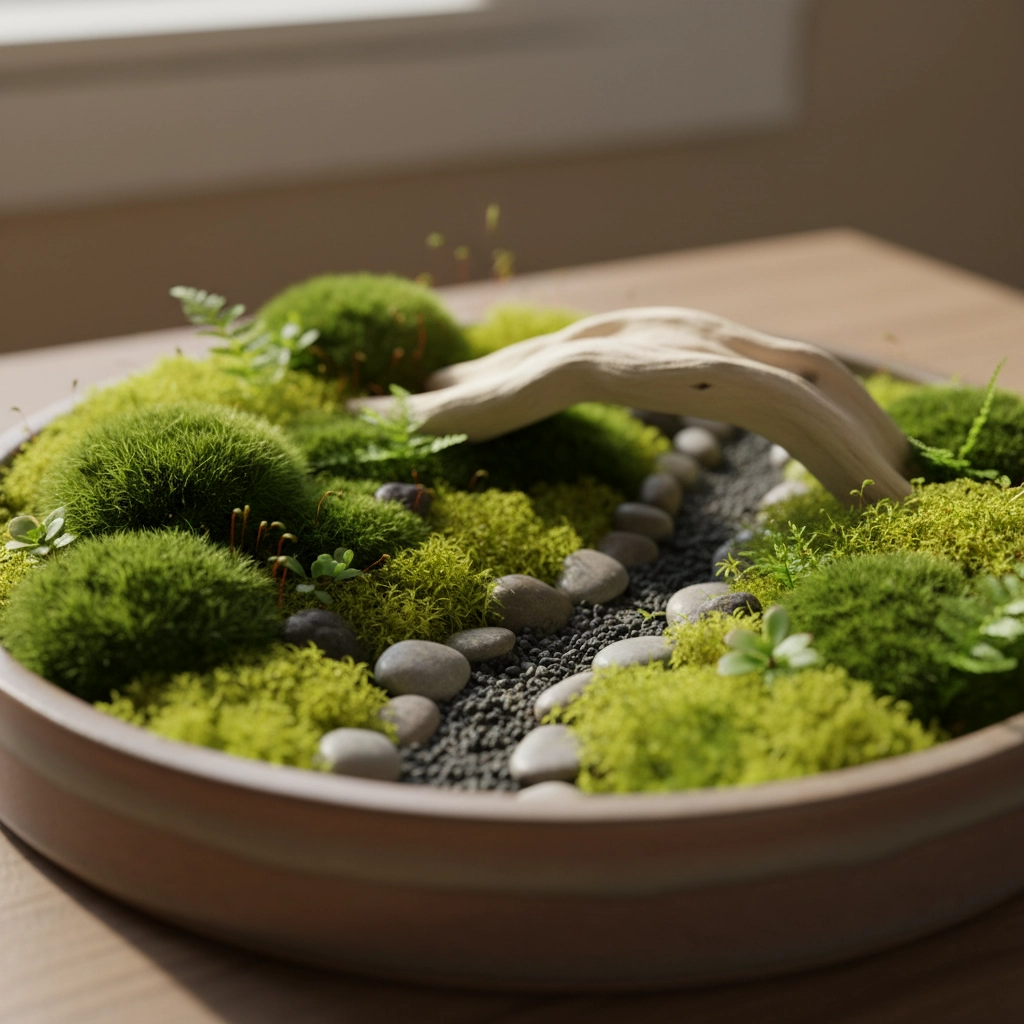
For something more sculptural, consider creating moss trays or landscapes in shallow containers. These work beautifully as centerpieces or coffee table displays. You can incorporate natural elements like rocks, branches, or even small succulents to create these miniature landscapes that look like tiny worlds.
Even though moss is incredibly forgiving, sometimes things go sideways. Here are the most common issues and how to fix them:
Brown or yellowing moss usually means too much direct light or not enough moisture. Move it to a shadier spot and increase your misting frequency.
Mold or funky smells indicate too much moisture and not enough air circulation. Remove the lid from containers for a few days and reduce watering until things balance out.
Slow or no growth often means the moss is still establishing itself. Be patient – moss operates on its own timeline, which is usually slower than we'd like.
Once your moss is established, maintenance becomes almost ridiculously simple. You're basically looking at misting 2-3 times per week, keeping it away from direct sun, and occasionally removing any debris that might fall on it.
The best part about moss care is that it actually gets easier over time. As your moss establishes itself and spreads, it becomes more resilient and requires even less intervention. It's like having a pet that feeds itself and never needs to go to the vet.
Some moss varieties will even go dormant if conditions aren't perfect, then bounce right back when things improve. It's this incredible resilience that makes moss such a perfect choice for anyone who wants the satisfaction of growing something beautiful without the stress of constant care.
Whether you're starting with a simple terrarium or planning an elaborate moss wall installation, remember that moss rewards consistency over perfection. Keep things simple, stay consistent with your care routine, and in a few months, you'll wonder why you ever thought houseplants had to be complicated.
Trust me, once you see how lush and vibrant your moss becomes with minimal effort, you'll be planning your next moss project before you know it. And the best part? Your friends will think you're some kind of plant genius, when really you just figured out that sometimes the easiest path is also the most rewarding one.


